David Hockney
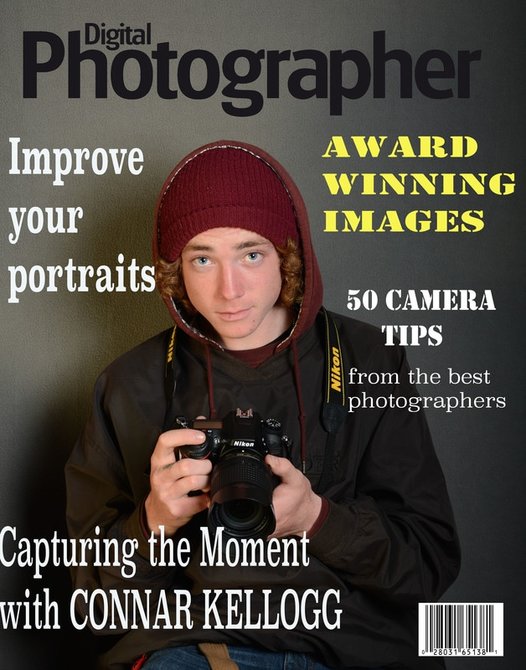
Magazine Cover
Del Mar Fair
Lightroom
Sports Photography
Family
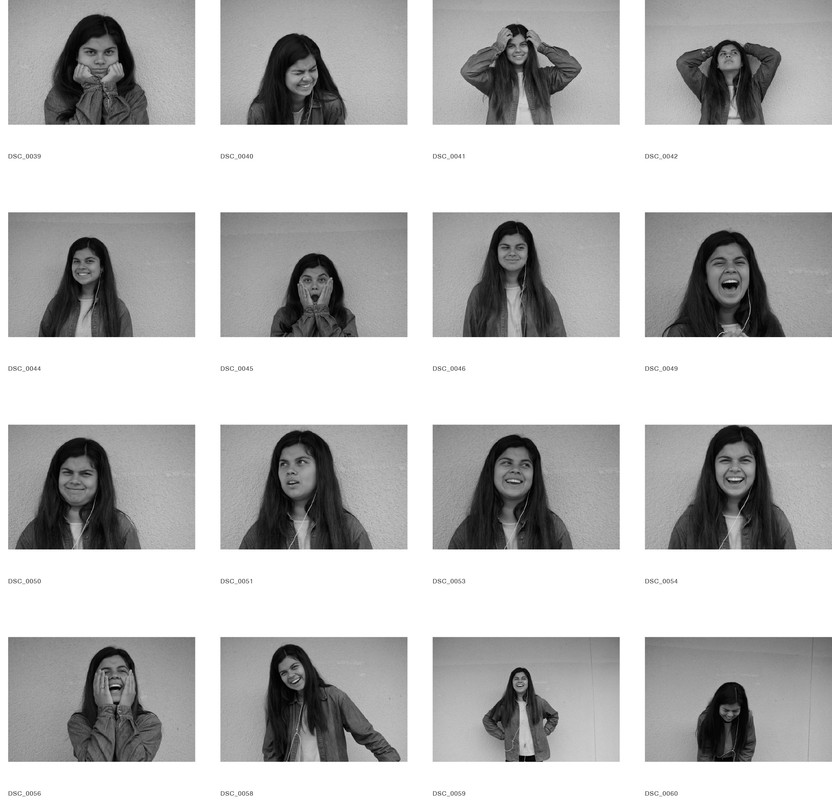
Expressions
Composite
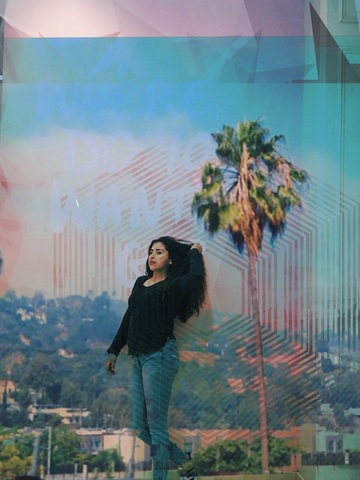
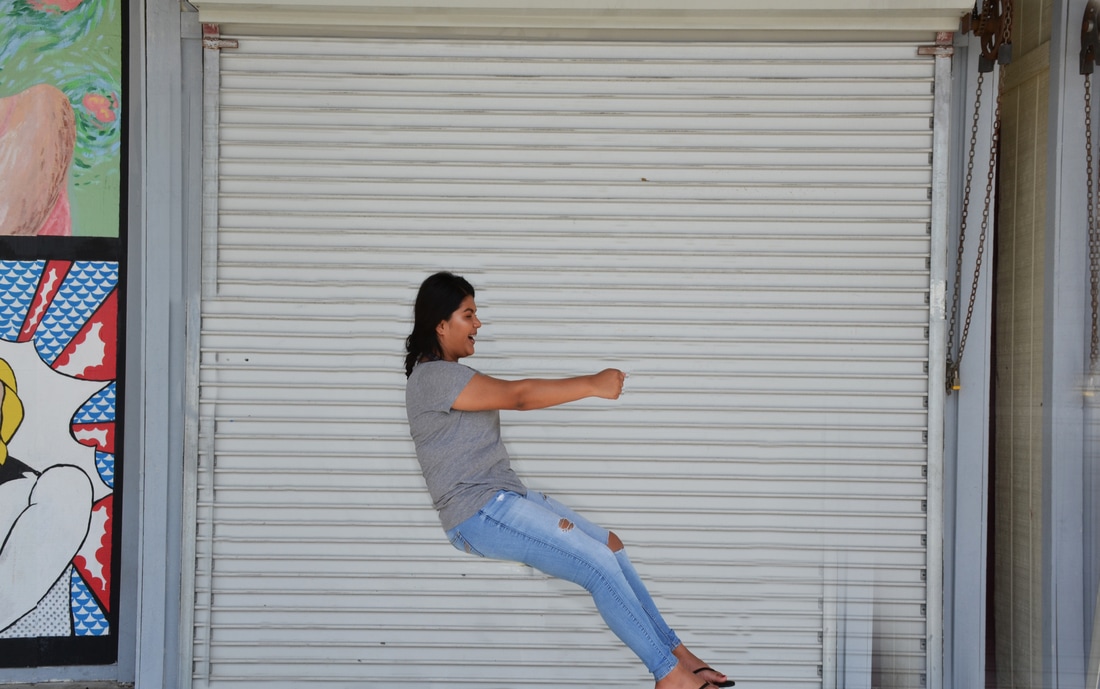
Flying
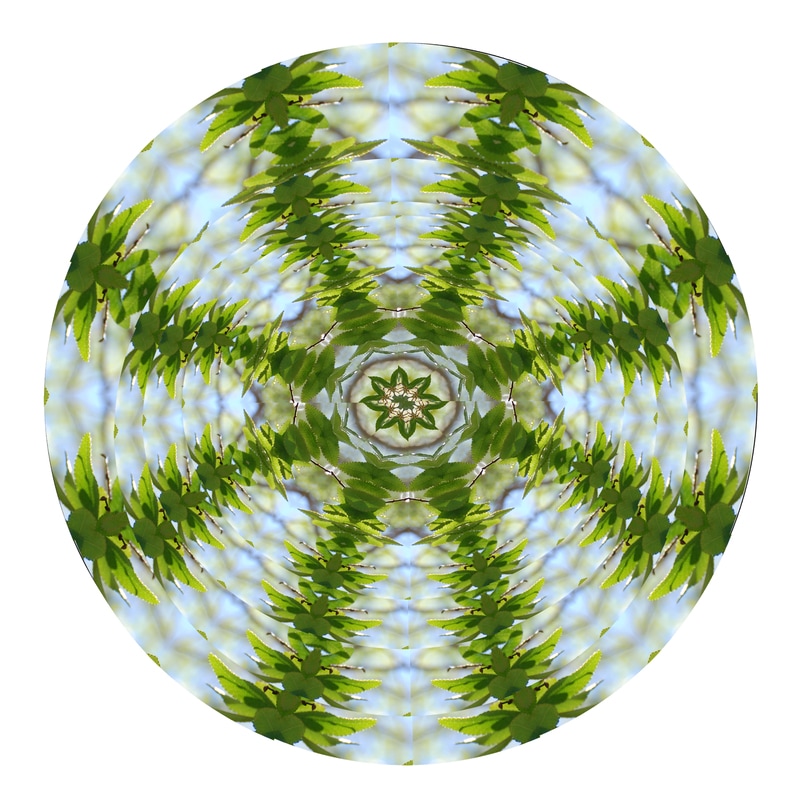
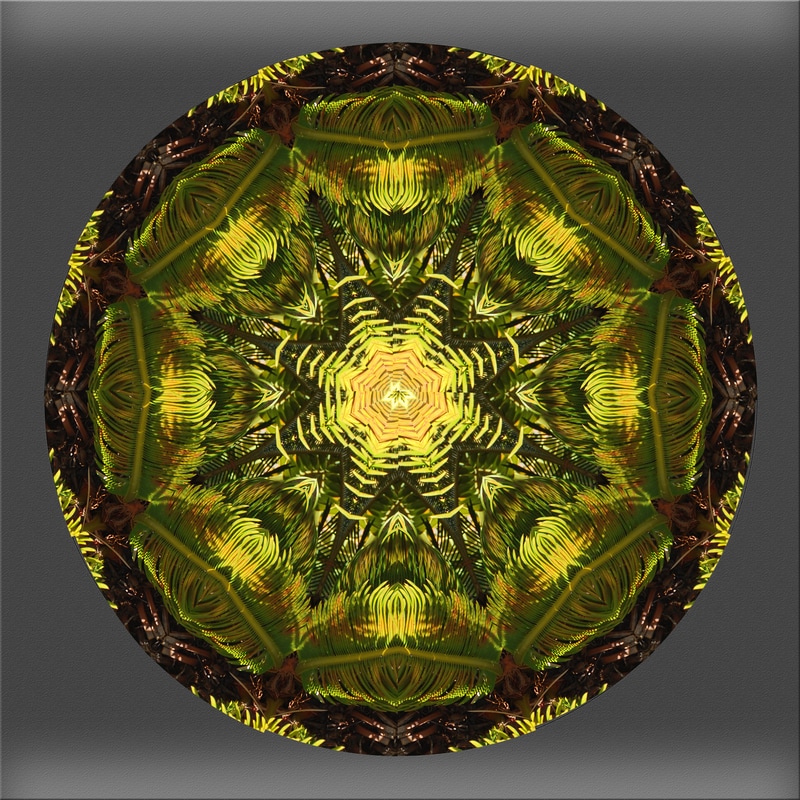
Mandalas
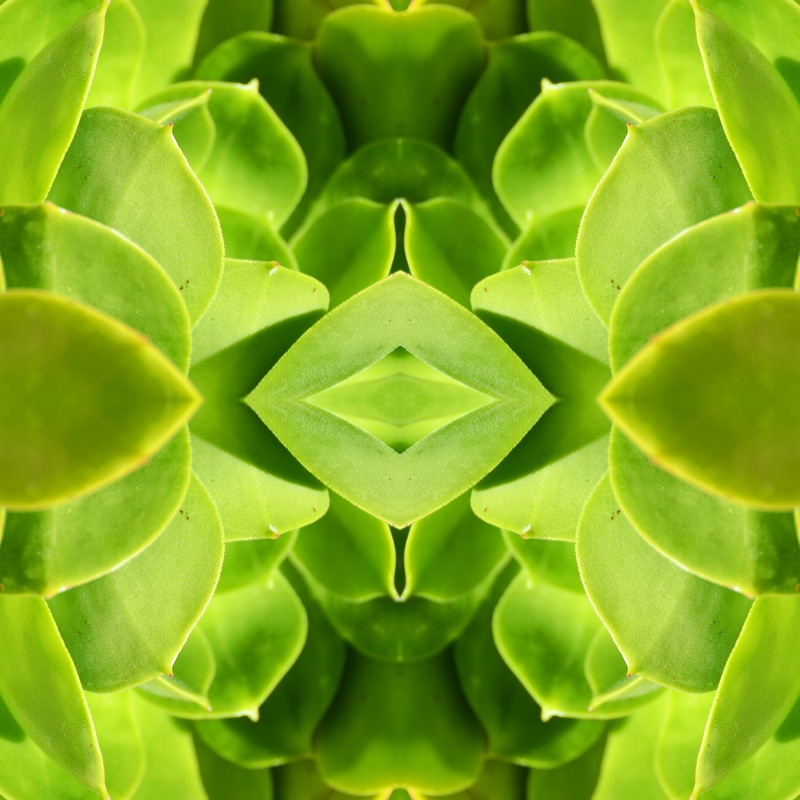
Tessellations

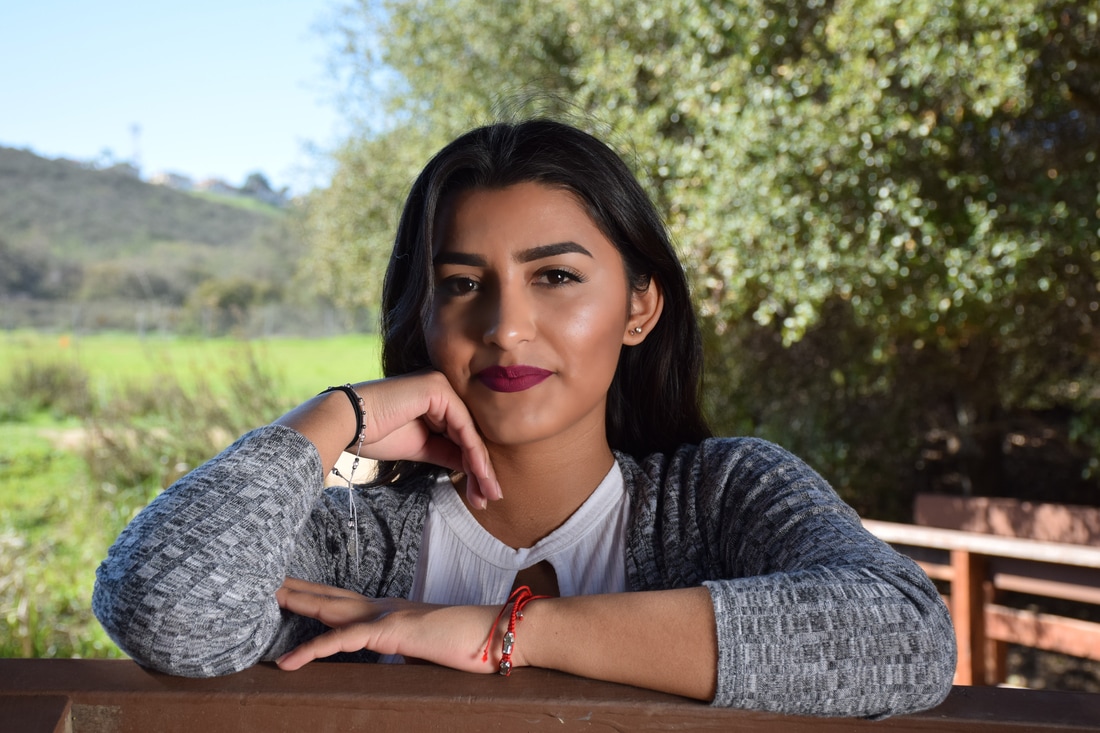
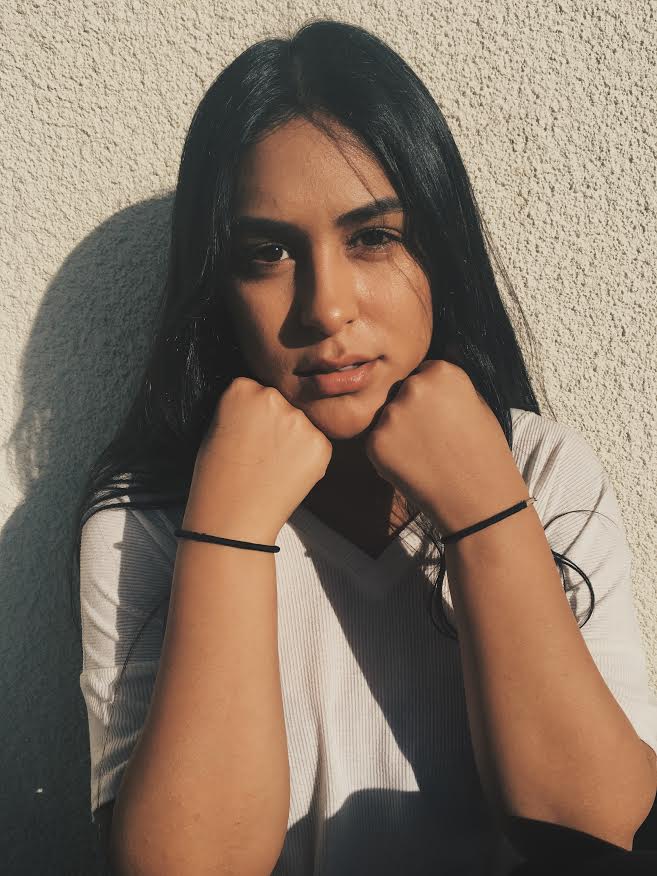
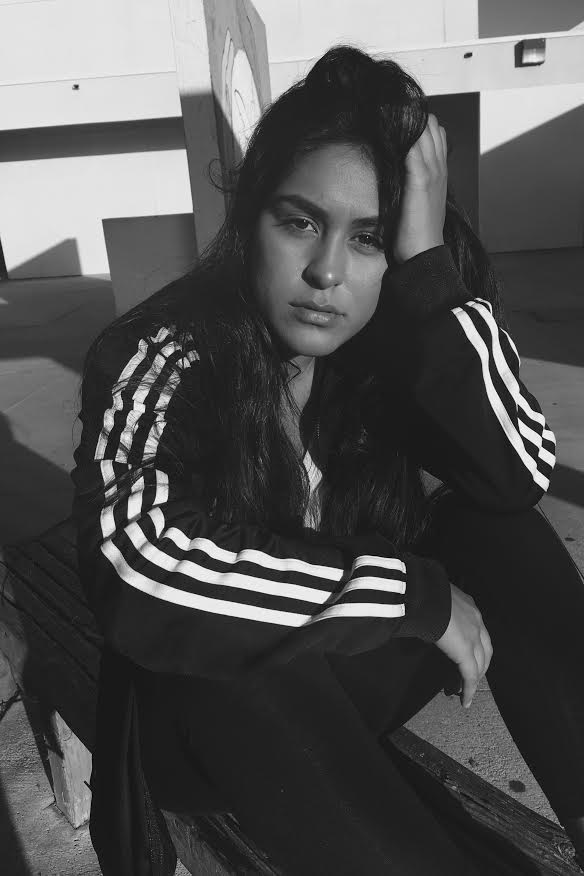
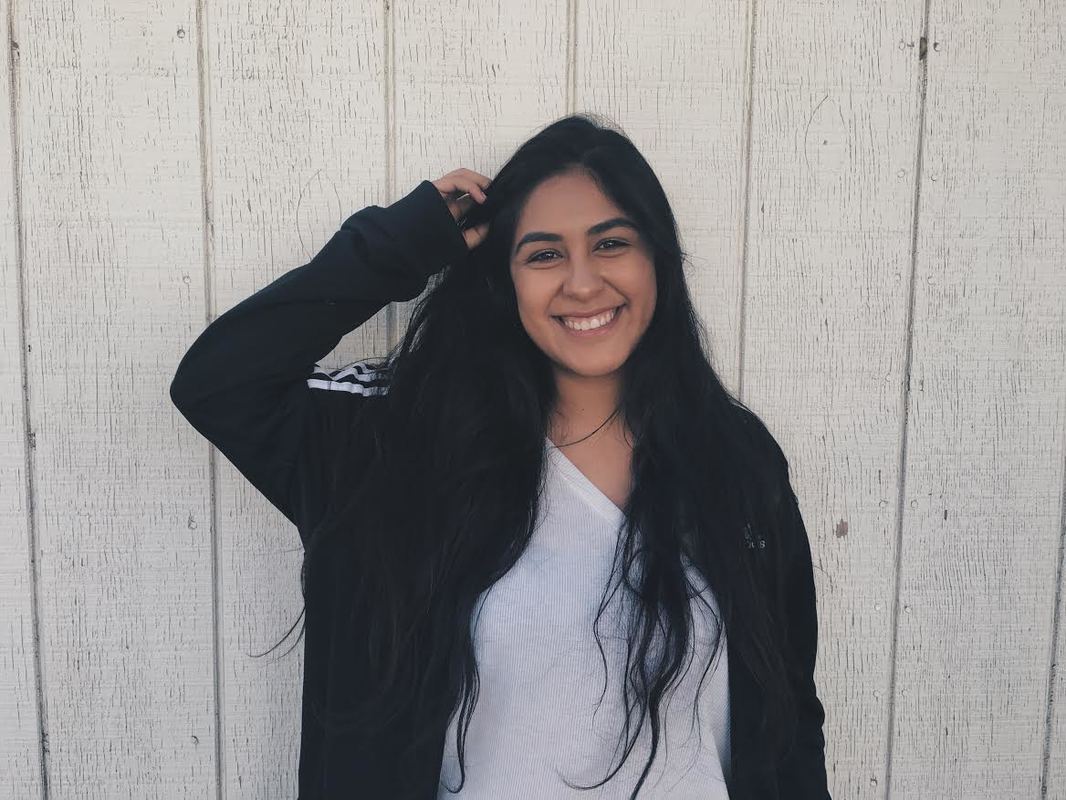
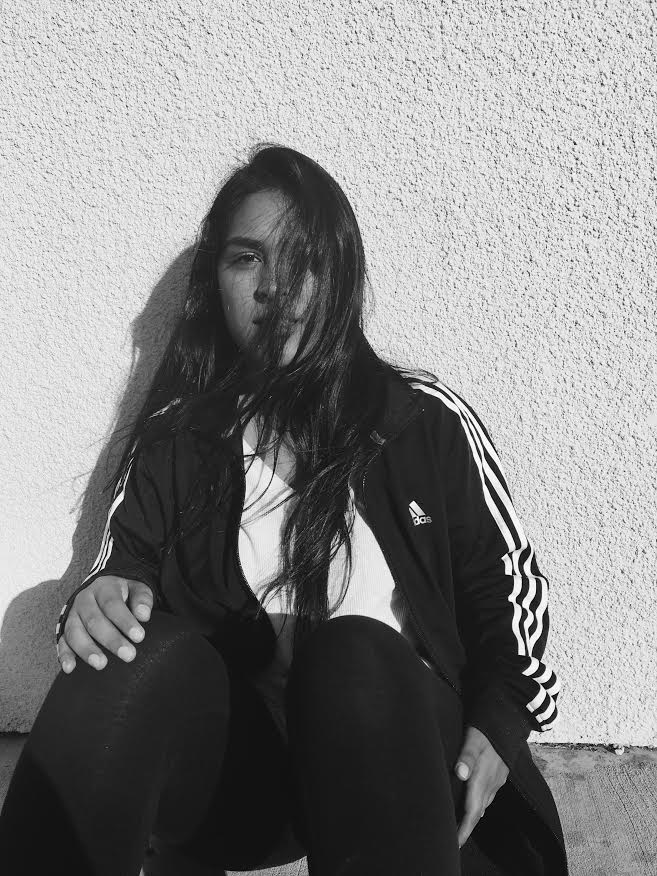
Portraiture

Education for all
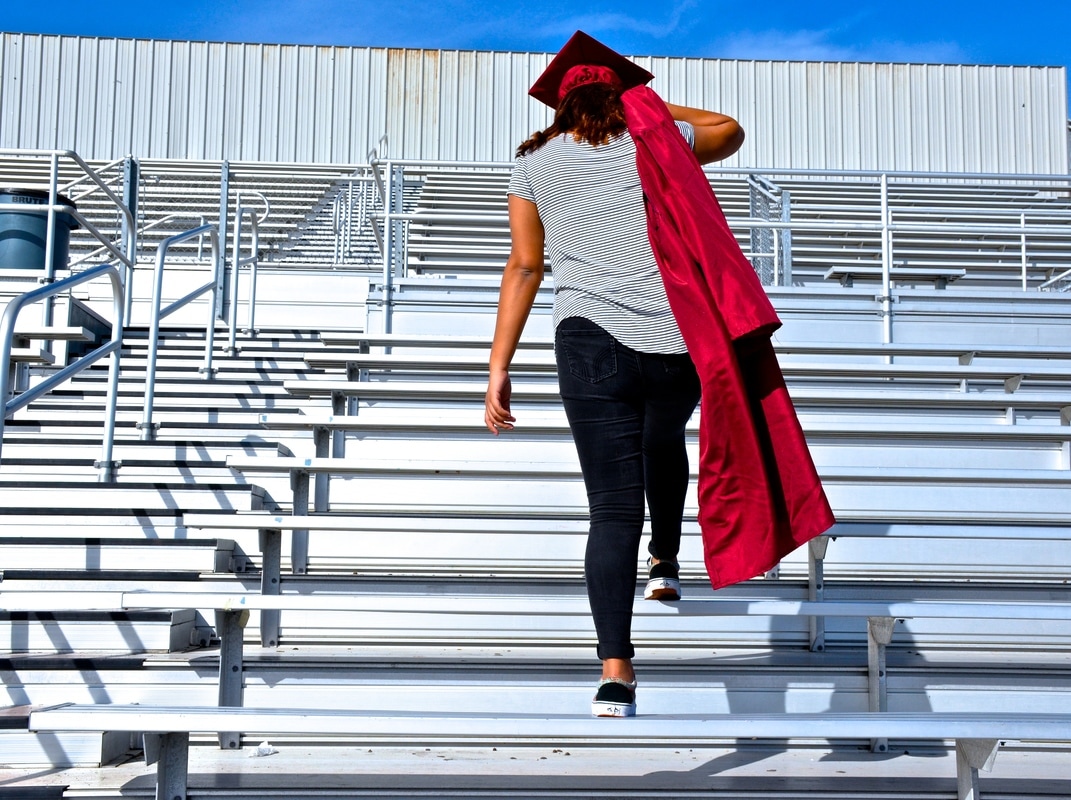
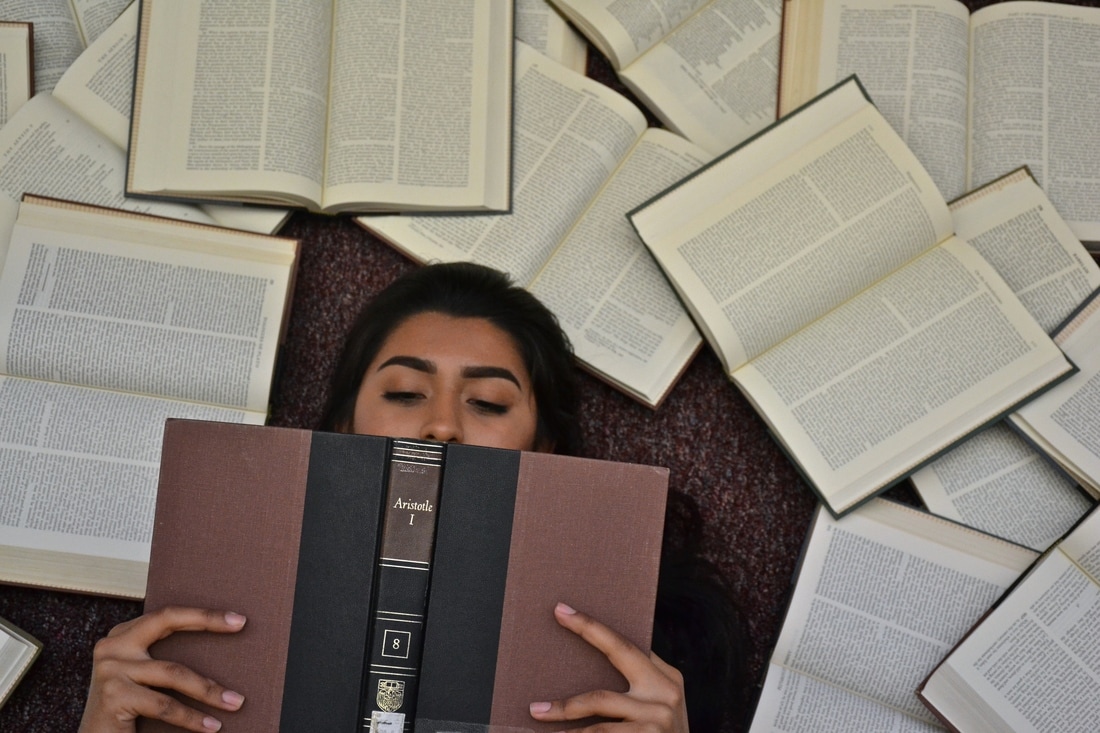
Over 13 years of dedicating our time to education and we still have college to go. It is all so overwhelming, the amount of time we spend, to become something in life. Even though we dread going to class everyday, we will have the memories that we have created. Throughout the times of
Food Photography


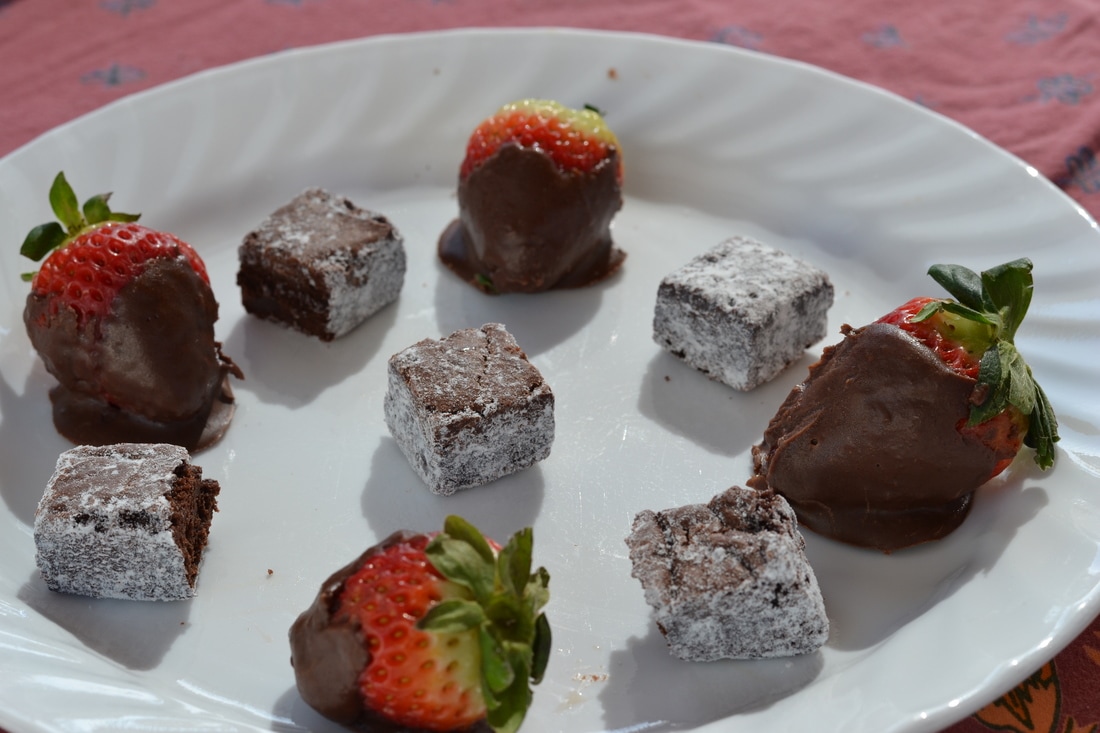


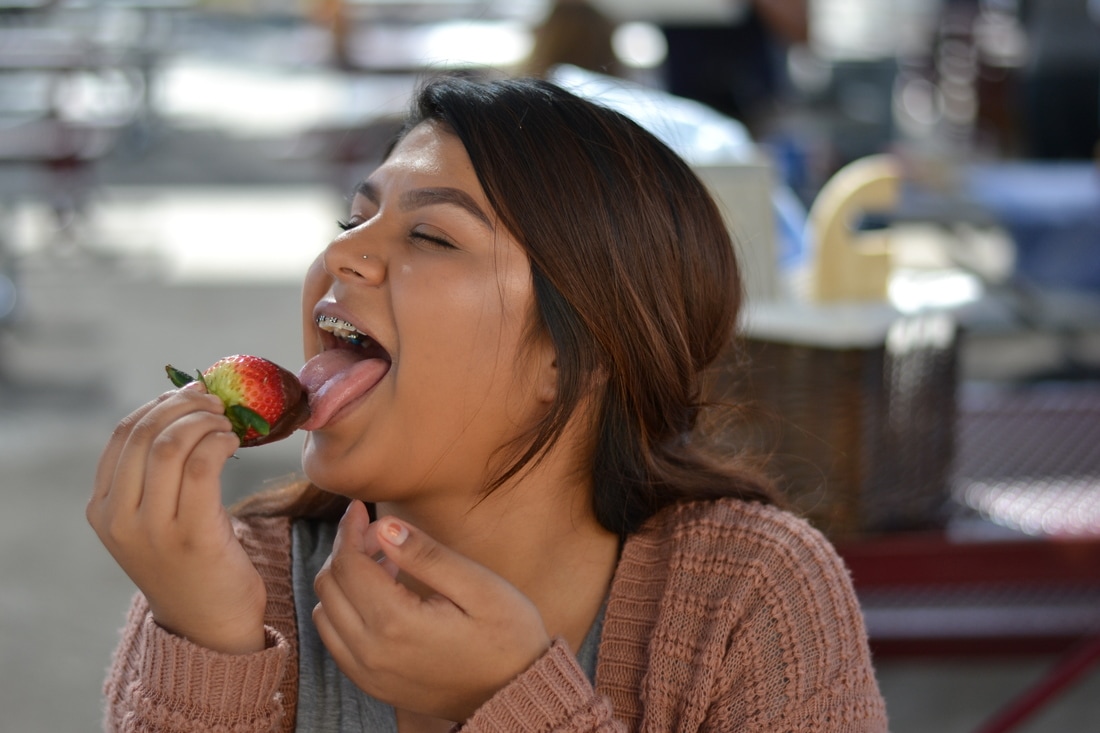
1. For these photographs I brought chocolate covered strawberries, roasted coffee beans and brownies.The props I used to make this was a white plate. a cup, a gold reflector to set a warm tone when taking this picture, a white background, and a table cloth.
2. 5 things I learned from the food photography video is
2. 5 things I learned from the food photography video is
- how the food photographers replace food to bring out the texture and quality of the food ex. motor oil for syrup and elmer's glue for milk
- lighting is very important
- all the different types of ways to take photos like "bake it" and "cook it"
- the way photographers prepare for their photos such as a sing wax on a beer bootle making it look like a cold drink
Name Project
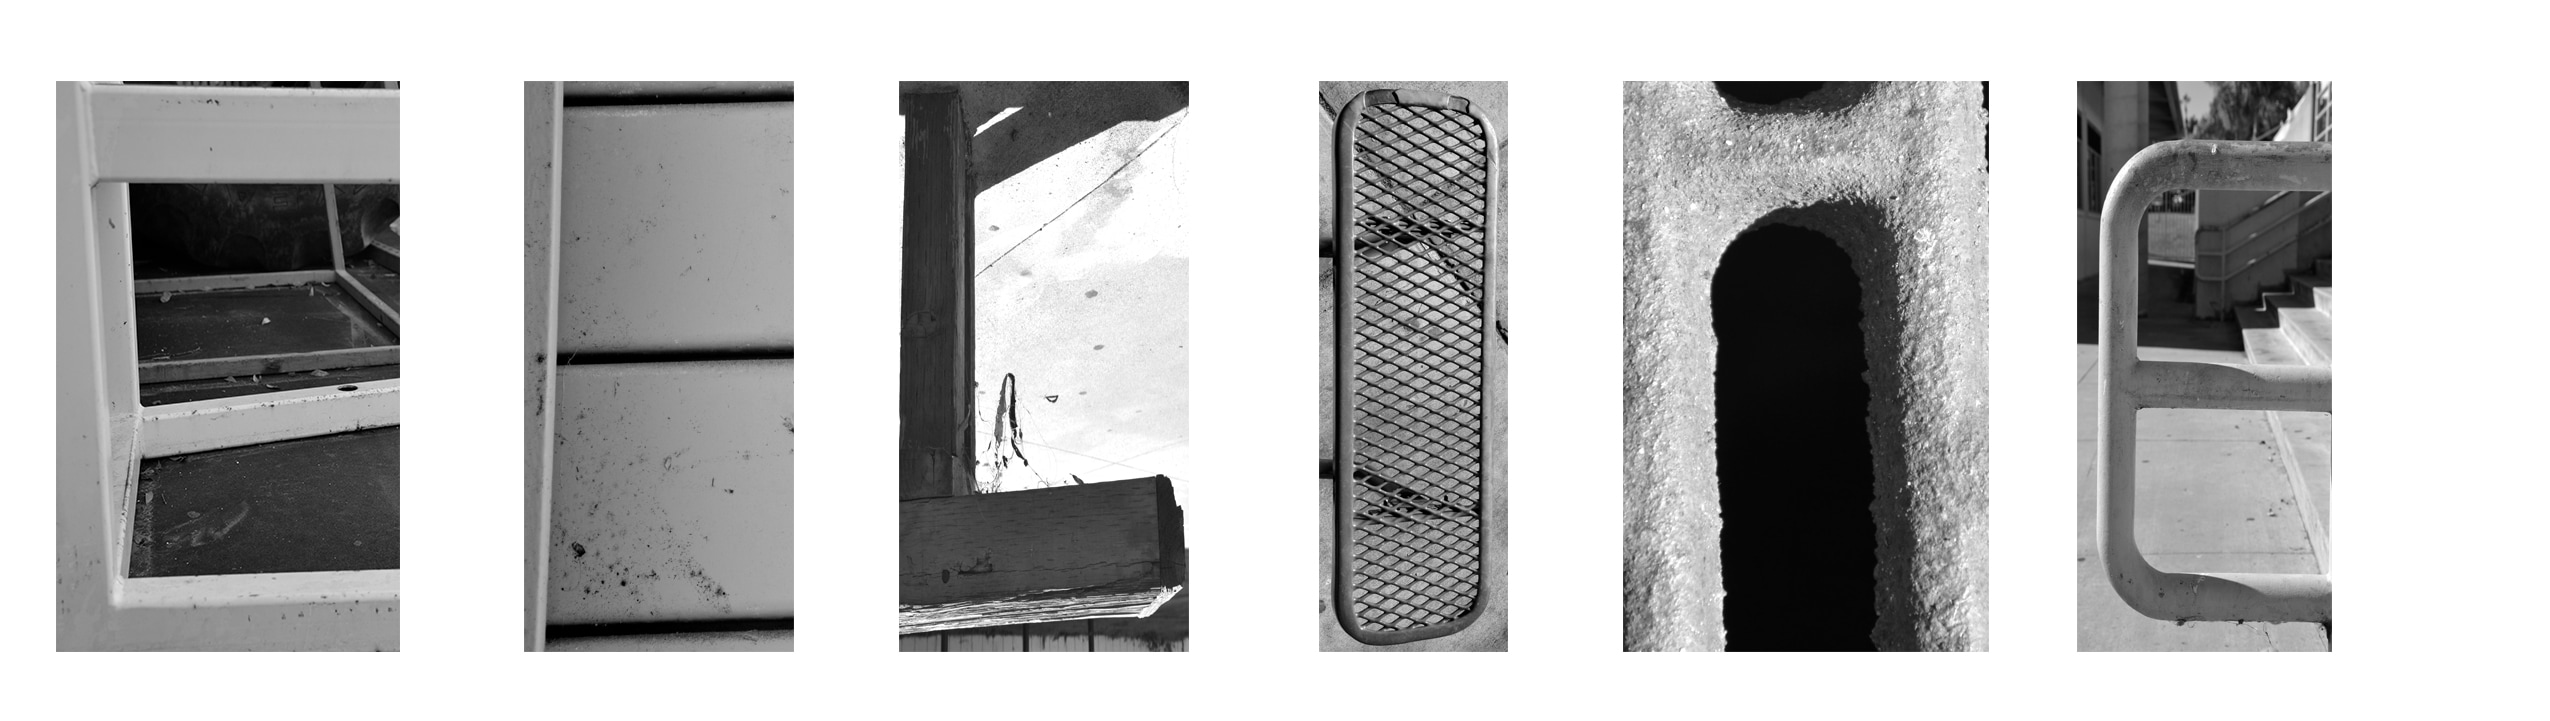
To create my project in Photoshop, I uploaded one photo at a time and then cropped/re-adjusted the image of the letter, to where it fits into the brackets of the layout. I didn't really struggle with Photoshop or taking photos. I was proud of when I was looking for letters outside that I actually spotted them, and didn't have that much trouble with it. What I like best about my artwork is how it is creative. I actually wish I found something more creative for my letter "C".
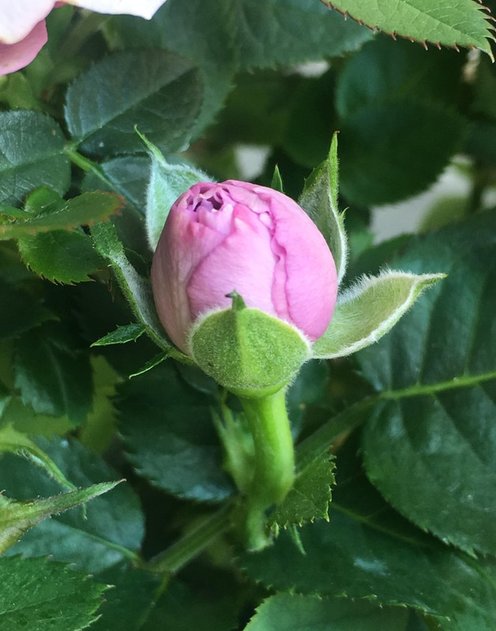
Rainy Day
Layer Masks
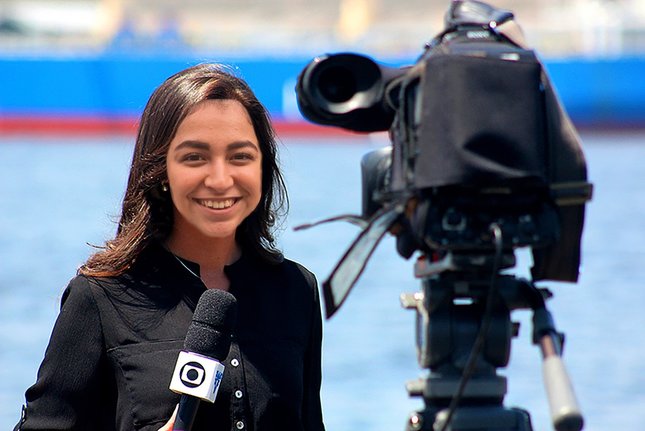
In 10 years I picture myself as a graduate from UC Santa Barbara with my Masters in Communications. I will be living with my 2 best friends Diana and Letty in Los Angeles in a house. I picture myself with a boyfriend and a daughter Letty is married with Michael and has one daughter, and Diana is married with Matthew with a son. All 3 of us love to travel and go on adventurous journeys.
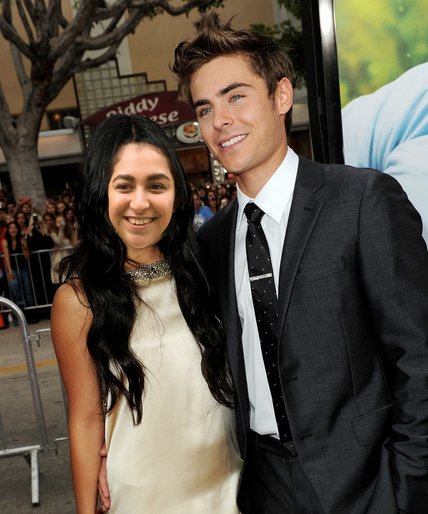
In this image I am Vanessa Hudgens with Zac Efron. I picked this image because I wanted to use a picture that had both "Gabriela and Troy" together. This picture was taken at a movie premiere for Charlie St. Cloud which Zac stars in.
- uploaded my 2 photos, and made sure that they weren't pixelated or have a watermark
- make sure both imaged are in 300 resolution
- cut out your face
- place your face as evenly as you can so that the eyes and mouth match
- use the lasso tool to fix and clean up your face so it matches
- next go to the color balance and change the saturation, contrast and color to match it so it looks real
Artist As Mentor
https://docs.google.com/presentation/d/1kMl7kOS9QUPRvYx0sy5yF__eMCmqPdGQwwhVe0mm9yE/edit?usp=sharing
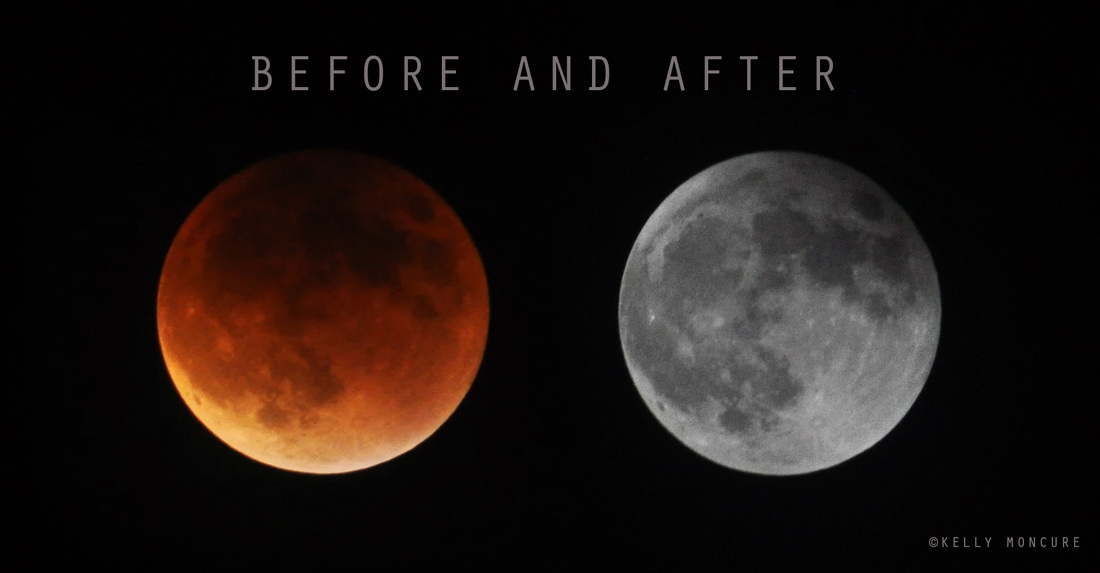
To photograph the moon:
1. Use a tripod! A flat surface will only allow you to shoot straight, and shooting the moon means that you'll be shooting up and constantly re-adjusting the tripod as the moon moves throughout the night.
2. Use a shutter release cord, remote or the camera's self timer if you don't have one, so that you don't move the camera when pressing the shutter release during a long exposure.
3. Use a zoom lens and zoom in as much as you can to the moon. It's okay if it's not a super fancy lens, this was shot using a 15 year old $100 lens. Focus in on the craters and details on the moon.
4. ISO 1250- 1600, so that you can use as fast a shutter speed as you can without losing detail-the longer the shutter speed, the more chances you have the camera will shake even slightly in the wind, resulting in an out of focus photograph.
5. Aperture priority of f/5.6 since you are not worried about capturing any details other then the moon.
6. Bracket your exposure, meaning over expose and underexpose the photograph from what the camera is telling you. Generally the camera will overexpose the moon, so you'll get nothing but a white blob in the sky. Use the exposure compensation button (the +/- button below the shutter release) and change the exposure to -0.5, then -1.0, then -1.5 and so on, until you start seeing detail in the moon. You may go as far as -5.0 exposure compensation to get what you need.
7. Take a fair amount of photos and keep refocusing as the night progresses. The photographs may look focused on the camera's display, but you won't really see if they're completely in focus until you upload them onto your computer screen.
Principles of Art
Elements of Art
Self Respect
Light Painting
1. I took these photos on a tripod in a dark room with manual mode and manual focus. I had my partner draw/write positive words. The app I used was 'my light painting'.
2. With the light painting I had a little problem with how large or small I should write/draw what I wanted to, so it can fit in the size of the photograph.
3. The 3 most important things I learned is to have a sturdy tripod, a timer, and to draw small so you can capture everything in the picture.
2. With the light painting I had a little problem with how large or small I should write/draw what I wanted to, so it can fit in the size of the photograph.
3. The 3 most important things I learned is to have a sturdy tripod, a timer, and to draw small so you can capture everything in the picture.
Shutter Speed
1. I changed the camera to be shutter priority on the top
Toy Story
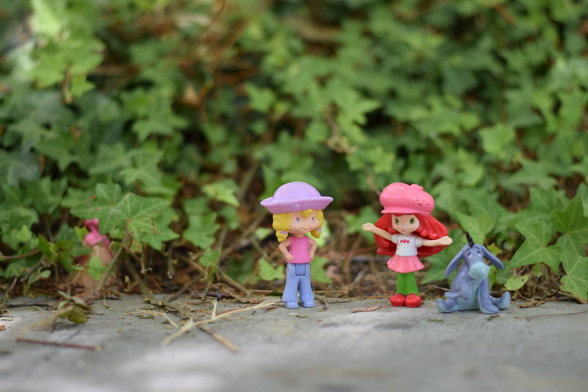
Scene 1
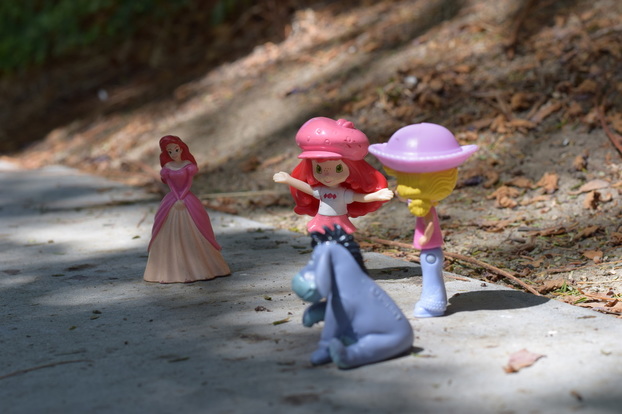
Once upon a time there were two best friends named Geo and Sierra, and they both live in downtown San Francisco. They are adventurous girls, and always looking for something new to do. It was just an ordinary Saturday, and Geo just got a new puppy. She called Sierra and told her to come over right away, so they can both spend time with her puppy. When Sierra came over Geo wanted to go take the puppy to the dog park, so they left the house, and went on a walk.
Once upon a time there were two best friends named Geo and Sierra, and they both live in downtown San Francisco. They are adventurous girls, and always looking for something new to do. It was just an ordinary Saturday, and Geo just got a new puppy. She called Sierra and told her to come over right away, so they can both spend time with her puppy. When Sierra came over Geo wanted to go take the puppy to the dog park, so they left the house, and went on a walk.
Scene 2
The girls were walking, and met new dogs in the neighborhood. It was such a beautiful day in the area, and everyone was out enjoying it. They began following a path towards an area where not many people were, but it is suppose to lead to the dog park. As they were walking they felt like someone was watching them, but when they turned around nothing was there. So the girls continued walking, and ignored it.
The girls were walking, and met new dogs in the neighborhood. It was such a beautiful day in the area, and everyone was out enjoying it. They began following a path towards an area where not many people were, but it is suppose to lead to the dog park. As they were walking they felt like someone was watching them, but when they turned around nothing was there. So the girls continued walking, and ignored it.
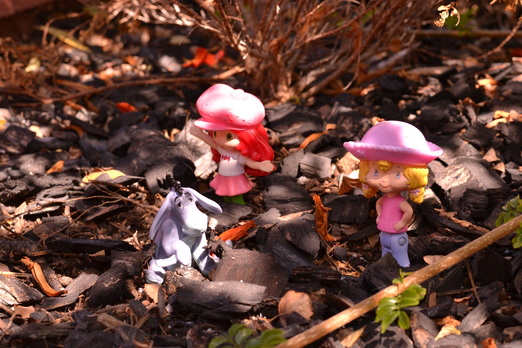
Scene 3
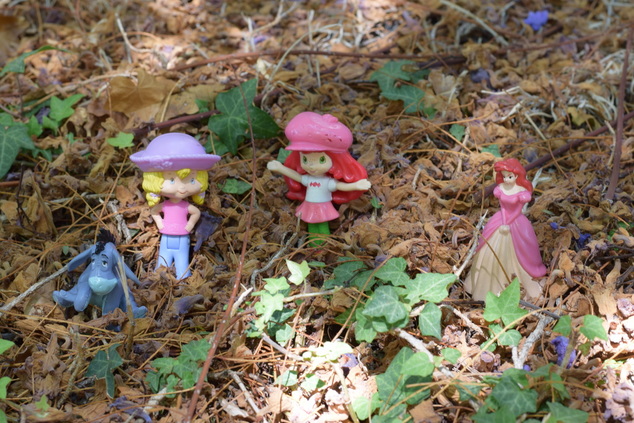
As they were walking they heard someone’s footstep, so they turned around and saw a shadow. Geo starts walking over to the shadow, but Sierra tries to hold her back. Then they see a girl walk out of the bushes. Geo and Sierra start walking backwards in fear. Then the girl tells them that she is lost. The girls were hesitant at first, but then saw that she actually seems like a nice girl. She then introduced herself, and said her name is Melody.
As they were walking they heard someone’s footstep, so they turned around and saw a shadow. Geo starts walking over to the shadow, but Sierra tries to hold her back. Then they see a girl walk out of the bushes. Geo and Sierra start walking backwards in fear. Then the girl tells them that she is lost. The girls were hesitant at first, but then saw that she actually seems like a nice girl. She then introduced herself, and said her name is Melody.
Scene 4
Melody then joined Geo and Sierra on their adventure walk. They were all talking and getting to know each other. Melody was talking about her breakup with her boyfriend. She said that she went over to her boyfriends house just to hangout, but noticed that he was acting weird. Then she said that he tried to attack her, but she ran away and luckily escaped away, but had no clue where she was, and then that is when she saw Geo and Sierra.
Melody then joined Geo and Sierra on their adventure walk. They were all talking and getting to know each other. Melody was talking about her breakup with her boyfriend. She said that she went over to her boyfriends house just to hangout, but noticed that he was acting weird. Then she said that he tried to attack her, but she ran away and luckily escaped away, but had no clue where she was, and then that is when she saw Geo and Sierra.
Scene 5
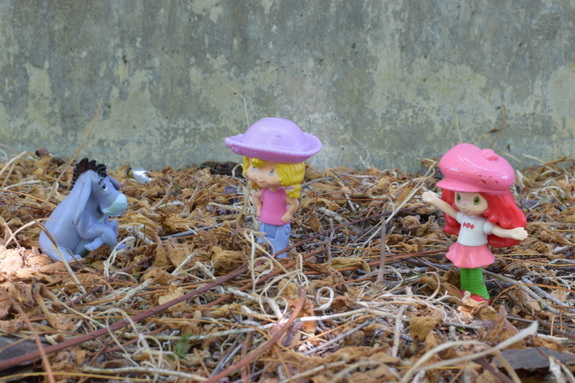
Melody told them that she always goes to the dog park, and can lead the girls the way. They were walking through a forest, and were very confused, because it didn’t look like they were heading towards the dog park. Geo kept getting a weird vibe from Melody, so when they were walking they started walking away slowly from Melody. Geo told Sierra how she felt, and Sierra felt the same way. When they stopped talking, and walked back out they didn’t see Melody. The girls got anxious, and decided to walk back to the car.
Melody told them that she always goes to the dog park, and can lead the girls the way. They were walking through a forest, and were very confused, because it didn’t look like they were heading towards the dog park. Geo kept getting a weird vibe from Melody, so when they were walking they started walking away slowly from Melody. Geo told Sierra how she felt, and Sierra felt the same way. When they stopped talking, and walked back out they didn’t see Melody. The girls got anxious, and decided to walk back to the car.
Scene 6
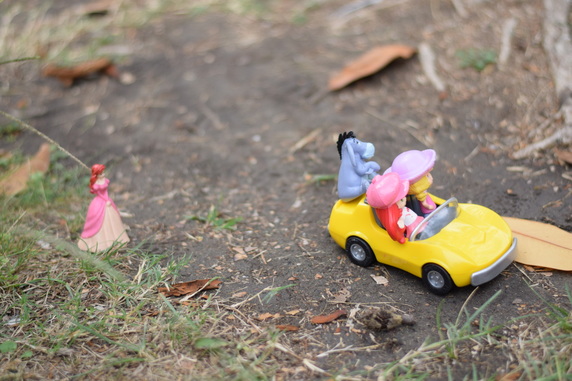
But all of a sudden when they walked to their car they see Melody in the corner, and she was laying down on the ground. The girls were confused,so Geo decided to walk over there to see what was going on, but then Melody jumps up and attacks her. But the dog runs over, and attacks Melody. Geo takes that time to run away to the car. Sierra helps Geo, and grabs the dog with her, and they rush to the car. As they got in the car they see Melody running after her, so Sierra turns it around and runs over Melody.
But all of a sudden when they walked to their car they see Melody in the corner, and she was laying down on the ground. The girls were confused,so Geo decided to walk over there to see what was going on, but then Melody jumps up and attacks her. But the dog runs over, and attacks Melody. Geo takes that time to run away to the car. Sierra helps Geo, and grabs the dog with her, and they rush to the car. As they got in the car they see Melody running after her, so Sierra turns it around and runs over Melody.
Aperture Priority
DSLR
Diagram of a camera
Exposure
Before taking a photo, consider these 3 things
Aperture in a camera
Size of Aperture- Large vs. Small Aperture
Aperture basics
Shutter Speed
How shutter speeds are measured
Rule of thumb for shutter speed
ISO
General rule of thumb
Modes on the DSLR
How to hold a DSLR
- Stands for “Digital Single Lens Reflex”
- A digital camera that uses mirrors to direct light from the lens to the viewfinder
Diagram of a camera
- Lens
- Reflex mirror
- Shutter
- Image sensor
Exposure
- The amount of light collected by the sensor in your camera during a single picture
- If the shot is exposed too long the photograph will be washed out
- If the shot is exposed too short the photograph will appear too dark
- Almost all cameras today have light meters which measure the light in the given shot and set an ideal exposure
- The three primary controls your camera uses for exposure are aperture, shutter speed, and ISO
Before taking a photo, consider these 3 things
- Aperture
- Shutter speed
- ISO
Aperture in a camera
- Simply put, aperture is a hole within a lens, through which light travels into the camera body
- It is easier to understand the concept if you just think about our eyes. Every camera that we know of today is designed like human eyes
Size of Aperture- Large vs. Small Aperture
- In photography,aperture is expressed in f-numbers (for example f/5.6). These f-numbers that are known as “f-stops” are a way of describing the size of the aperture, or how open or closed the aperture is
- A smaller f-stop means a larger aperture, while a larger f-stop means a smaller aperture. For example, f/1.4 is larger than f/2.0
Aperture basics
- Small apertures (high f/numbers ie f/2) increase the depth of field, bringing both the main subject and background into focus
- Large apertures (low f/numbers ie f/2.8) soften background details
- Depth of field (DOF)
Shutter Speed
- Shutter speed, also known as “exposure time”, stands for the length of time a camera shutter is open to expose light into the camera sensor
- If the shutter speed is fast, it can help to freeze action completely
- If the shutter speed is slow, it can create an effect called “motion blur”, where moving objects appear blurred along the direction of
How shutter speeds are measured
- Shutter speeds are typically measured on fractions of a second, when they are under a second
- For example ¼ means a quarter of a second, while 1/250 means one two-hundred-and-fiftieth of a second
Rule of thumb for shutter speed
- The slowest shutter speed for handheld photography is 1/60. Anything lower then that should either be on a tripod or on a straight, solid surface
- Any slower handheld shutter speed begins to get motion blur and your photograph may be out of focus
ISO
- ISO is the level of sensitivity of your camera to available light
- The lower the ISO number, the less sensitive it is to the light, while a higher ISO number increases the sensitivity of your camera
- The component within your camera that can change sensitivity is called “image sensor” or simply “sensor”
- With increased sensitivity, your camera sensor can capture images in low-light environments without having to use a flash. But higher sensitivity comes at an expense-it adds gain
General rule of thumb
- Bright and sunny, 100 iso
- Cloudy, 250 iso
- Indoors, 500 iso
- Night time without a flash, 1600 iso
Modes on the DSLR
- M- Manual Control over aperture and shutter (on your own)
- A- Aperture Priority (best exposure)
- Shutter Priority (Motion)
- P- Camera sets shutter speed and aperture (Program)
How to hold a DSLR
- Have the camera strap around your neck at all times and
- Hold the camera by the lens and hand grip if possible- treat with care!
Camera Obscura
Surrealistic Selfie